How to Mount and Dismount Your New SnowDogg Gen II Plow With QuickMountII System
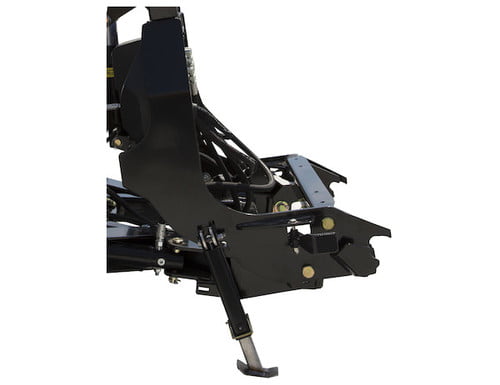
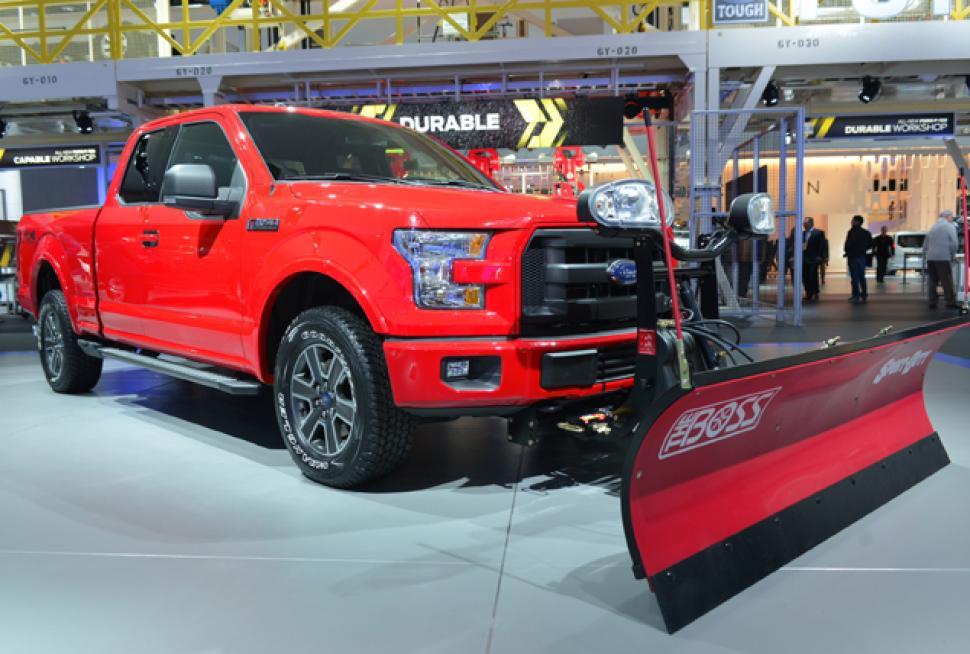
From the early SnowDogg snow plows to the new Generation 2 plows, a lot of has changed. One of the big changes in SnowDogg plows between Gen 1 and Gen 2 plows is the mount system. The all new QuickMountII system found on all SnowDogg GenII snow plows, allows for one person to easily attach their plow to their vehicle before heading out to start your work day. Gone are the days of getting a helping hand or using a lift to get the plow high enough off the ground for it to reach your truck. Take a look at the two videos below to find out just how simple SnowDogg has made the new QuickMountII system and learn the step by step process for attaching and detaching your plow QuickMountII from your vehicle.
How to Mount a SnowDogg Gen II QuickMountII
Check out the quick 2-minute video to the right to view the instructions and demonstration for properly attaching your truck to your new SnowDogg Gen II plow.
- Retract QuickMountII Lock Pins: this allows your vehicle undercarriage to slide into place once you drive your truck into your QuickMountII mounting system.
- Push Foot Pedals Towards Truck: they will lock into position
- Power On Your Controller: do this before moving your truck. This will power on the entire plow system.
- Put Plow in Float Mode: press and hold the down button on your plow controller. The “Dog Head” will light up blue when in float mode.
- Put Plow in Mount Mode: press and hold the down button again on your plow controller. The “Dog Head” will light up and blink red when in mount mode.
- Drive Into The Plow With Truck: goal is to lineup push bar on the mount so that it engages with the receiver notch on the plow.
- Connect Light and Hydraulic Harnesses: these are the wires hanging out the front of your truck’s grill.
- Press down on the mount switch on your plow’s QuickMountII system.
- Press down on the lift bar of your plow to retract the cylinder.
- Pull foot pedal away from the truck to release the pin locking springs.
- If your lock pins don’t lock into place, simply push up on your light bar assembly on the plow until they both lock.
- Insert safety pins and rotate kickstands to upward positions
How to Dismount and Detach Your SnowDogg Gen II Plow From QuickMountII System
The all new QuickMountII+ system allows for a seamless attachment, but an even easier detachment system when you’re done plowing for the day. Check out the video to the right and read the steps below for a complete instructional overview of the QuickMountII+ system by SnowDogg and Buyers.
- Turn on Plow Controller and put in Float Mode by holding the down button on your controller until the “Dog Head” lights up blue.
- Press and hold down the down button on your Plow Controller again until the “Dog Head” lights up red and starts blinking. You are now in dismount mode.
- Press down on your chain lift to retract the lift cylinder.
- Remove safety pins.
- Pull up on Prop Stand relief lever to place in down position
- Push light tower towards the truck to remove tension from locking pins and push the foot pedal towards the truck to retract the lock pins. Repeat on other side.
- Stand behind the lift frame (closest to truck) and press up on the lift frame switch until the lift frame tilts forward enough to be off the push bar. Release switch in center lock position outlined by the “-” symbol on your lift frame decal.
- Disconnect light and hydraulic harness at your vehicle grill
- Back away from the plow and you’re done.


